
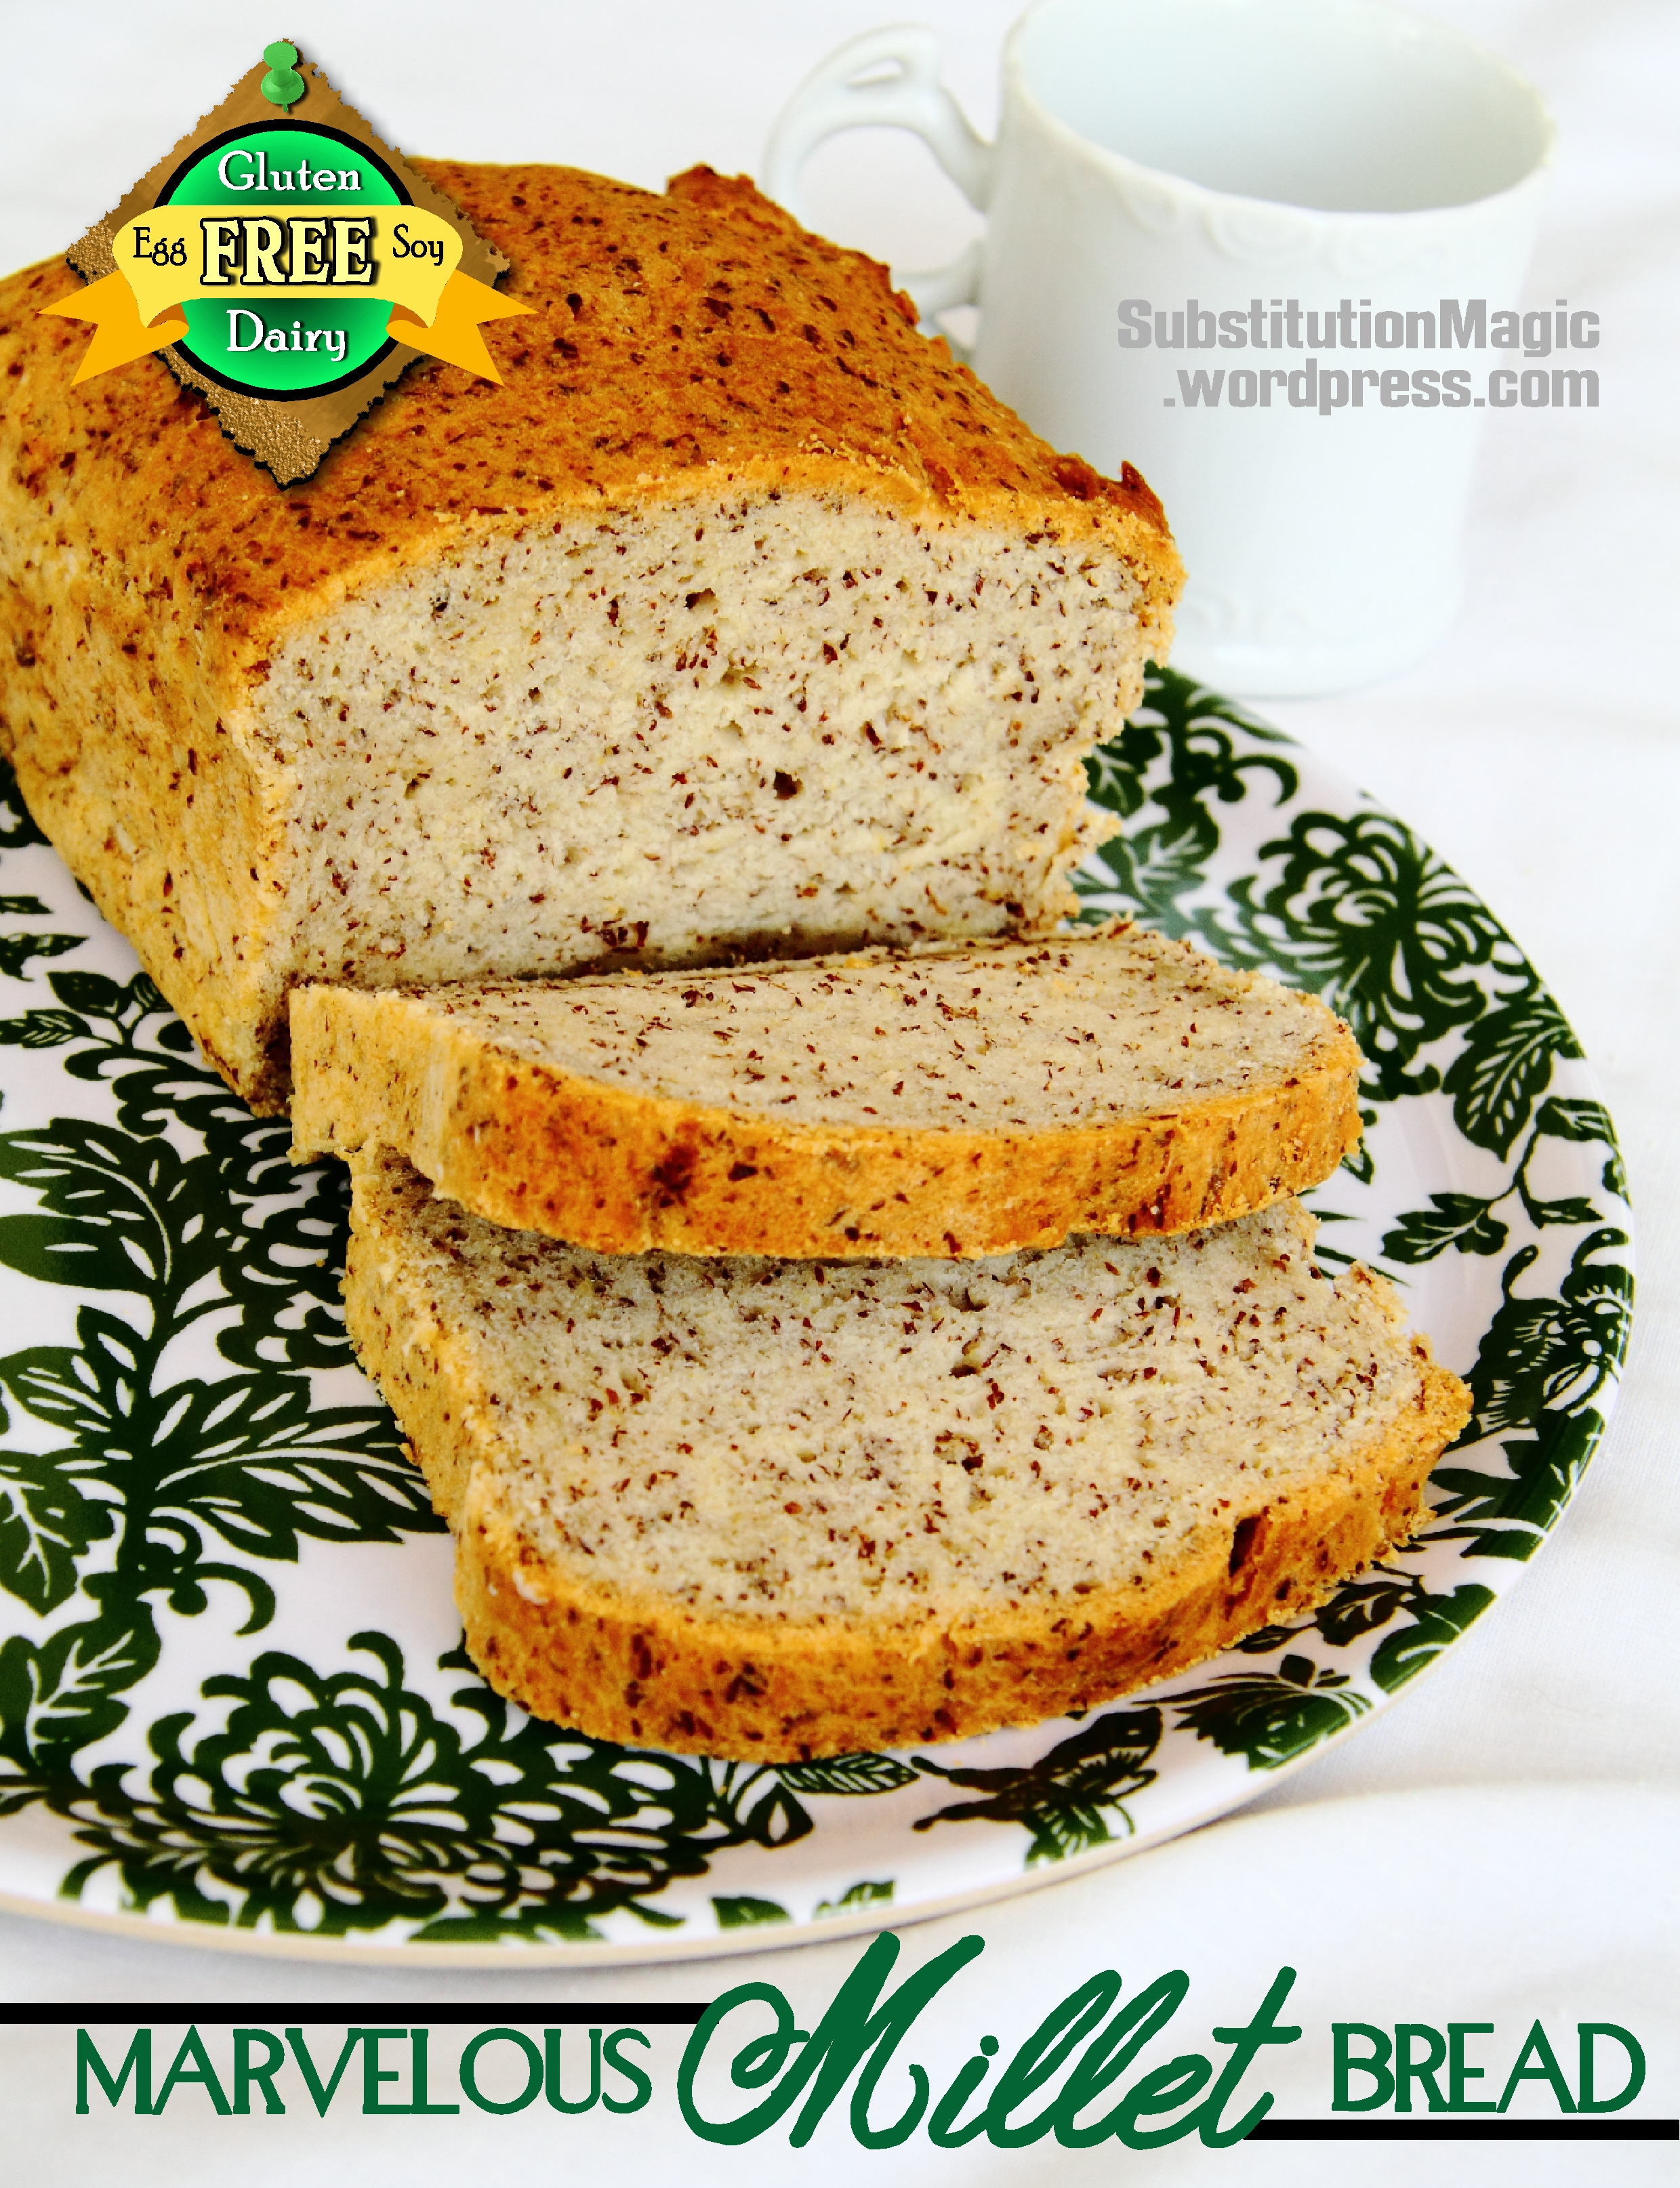
 Marvelous Millet Bread
Ahhh…soft, warm bread WITHOUT that gluten-free aftertaste! Bread has such a mild flavor that it took over a dozen tries to come up with a recipe that overcomes that awful aftertaste that we know so well.
FLOUR MIXTURE:
1 1/4 cups millet flour
1 1/4 cups sweet rice flour superfine
1 cup tapioca flour
1 cup potato starch
2 teaspoons xanthan gum
INGREDIENTS:
3 cups flour mixture
1 1/2 teaspoons xanthan gum
4 teaspoons double-acting baking powder
1/4 teaspoon sea salt
4 Tablespoons sugar
1 Tablespoon brown sugar
3/4 cup So Delicious Unsweetened Coconut Milk
1/4 cup club soda (room temperature)
2 teaspoons apple cider vinegar
1/4 cup extra light tasting olive oil
4 Tablespoons whole ground flaxseed meal
6 Tablespoons hot water
1 Tablespoon Soy Free Earth Balance Margarine
DIRECTIONS:
Measure flours to make flour mixture by lightly spooning flour into measuring cups. Gently scrape the top off with a knife and place flours (and xanthan gum) into a large bowl. Do not scoop flours out of the bag with the measuring cup or it will pack down and you will have too much flour. Set bowl aside. Whisk together flaxseed meal and hot water in a separate small bowl (this is replacing your eggs). Set aside for it to gel for a few minutes. In a medium bowl, whisk together 3 cups of the flour mixture (make sure you lightly spoon this to measure also), xanthan gum, baking powder, salt and sugars. Store leftover flour mixture in an airtight container in a cool dry place for future use. Warm coconut milk to 110-115 degrees. Place warmed coconut milk and vinegar in a bowl of a stand mixer fitted with the paddle attachment or dough kneading hook. Mix and let set for a few minutes. Add club soda, olive oil and flaxseed meal mixture and mix. Add dry ingredients slowly. Beat on low to medium speed for 6 minutes. Make sure that all of the flour is mixed in the dough. Pour mixture into a greased loaf pan. The dough will be very thick. Smooth the top with a spatula. Place the pan in a cool oven (oven that’s NOT turned on) covered with greased wax paper. Place a bowl of hot water on a rack underneath the pan and close the oven door. Let rise for an hour. Take out the loaf pan and the bowl of water from the oven and preheat the oven to 375 degrees. Bake bread for 20 minutes uncovered. Spread the margarine over the top of the bread and bake additional 35 minutes until golden brown. Place on a rack to cool for about 10 minutes and remove from pan. Store in an airtight plastic bag after bread has cooled. After 24 hours refrigerate leftovers. This bread is really tasty toasted or microwaved after it has been refrigerated.
TIPS:
One helpful tip while measuring your flours: I usually place a baking sheet underneath the bag of flour and the bowl while I’m scooping the flour out of the bag with a spoon and placing it into the measuring cup and then scraping off the excess with a knife unto the baking sheet. After I’m done measuring that particular flour, I pour the excess that landed unto the baking sheet back into the bag of flour. Therefore, saving the excess mess and expense. Never pack down gluten-free flours. The chemistry between the flours and the moisture is very precise.
Make sure that your bread is uncovered in the oven. One time I made the exact same loaf of bread (one with yeast and one without). I covered both loaves with foil after 20 minutes in the oven because the yeast bread gets too brown and I expected the “non-yeast” to do the same. When I pulled both loaves out of the oven the “non-yeast” bread was almost white compared to the dark brown yeasted bread. The next time I made the “non-yeast” bread, I didn’t cover it at all and brushed margarine on the top after 20 minutes of baking to get it that beautiful golden brown. It came out just perfect!
The reason behind the bowl of hot water in the oven while the dough is rising is to keep the air in the oven warm and moist. I have a double oven and I let the dough rise in one oven and preheat the other oven about 10 minutes before the dough is ready to bake. This can be tricky—I’ve almost turned on the wrong oven at times! What a disaster that would have been! Don’t be concerned that the dough doesn’t rise above the pan after an hour. Most of the rising will happen while it is baking. I’ve baked the yeast bread and non-yeast bread side by side and the non-yeast bread rose HIGHER than the yeasted one AFTER baking even though the “yeasted” bread rose more BEFORE baking.
Make sure you don’t use the canned coconut milk in this recipe. You need to have the lighter milk that comes in a carton. You can use other brands of cartons of coconut milk, but if it isn’t “unsweetened” cut back a little on the sugar.
I would not suggest substituting any of the flours in this recipe or you might get an aftertaste or different texture than you’d like. The sweet rice flour superfine helps this bread to have a softer, less crumbly texture. I use the Authentic Foods brand. The millet flour gives it the taste. The flaxseed meal also gives some of the good flavor. I’m not sure if this was a fluke, but I bought Bob’s Red Mill Whole Ground Flaxseed Meal and the taste was sweet and mild. But I also had a bag of the organic of the same brand and it had a really strong, grassy smell to it and gave a saltier flavor to the bread that I didn’t like (I’m pretty picky). I wasn’t quite sure what that was all about. Just make sure that your flaxseed meal doesn’t have a strong smell when you open the bag.
THOUGHTS:
It takes about 2 hours and 15 minutes to make this bread, but it’s worth it! I usually make 2 loaves at a time. If you try this recipe, I’d love your feedback!
